How to synchronise participants via Microsoft Entra (previously Active Directory)?
How participant data from Microsoft Entra can be synchronised with reteach
In this chapter we show how to connect reteach with Microsoft Entra (previously Microsoft Active Directory) to synchronise participants and groups with reteach. The interface implements the SCIM 2.0 Standard and is therefore usable for many user directories.
The interface can synchronise the following participant data:
- User name
- First name
- Surname
- Gender
- Date of Birth
- Language
- Company
- Department
- Manager
- Notification email
- Authentification method
- Activity status
Furthermore, the interface transfers the following group data:
- Group name
- Group affiliation of participants
Hint: It is recommended to combine the synchronisation with Single-Sign-On (SSO) to achieve a smooth user experience.
The following steps are necessary to enable the synchronisation:
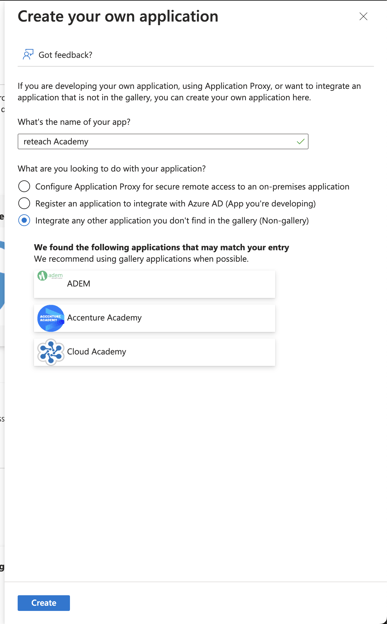
1) Creating an application in Active Directory
Create an application in Active Directory and assign it an unique name.
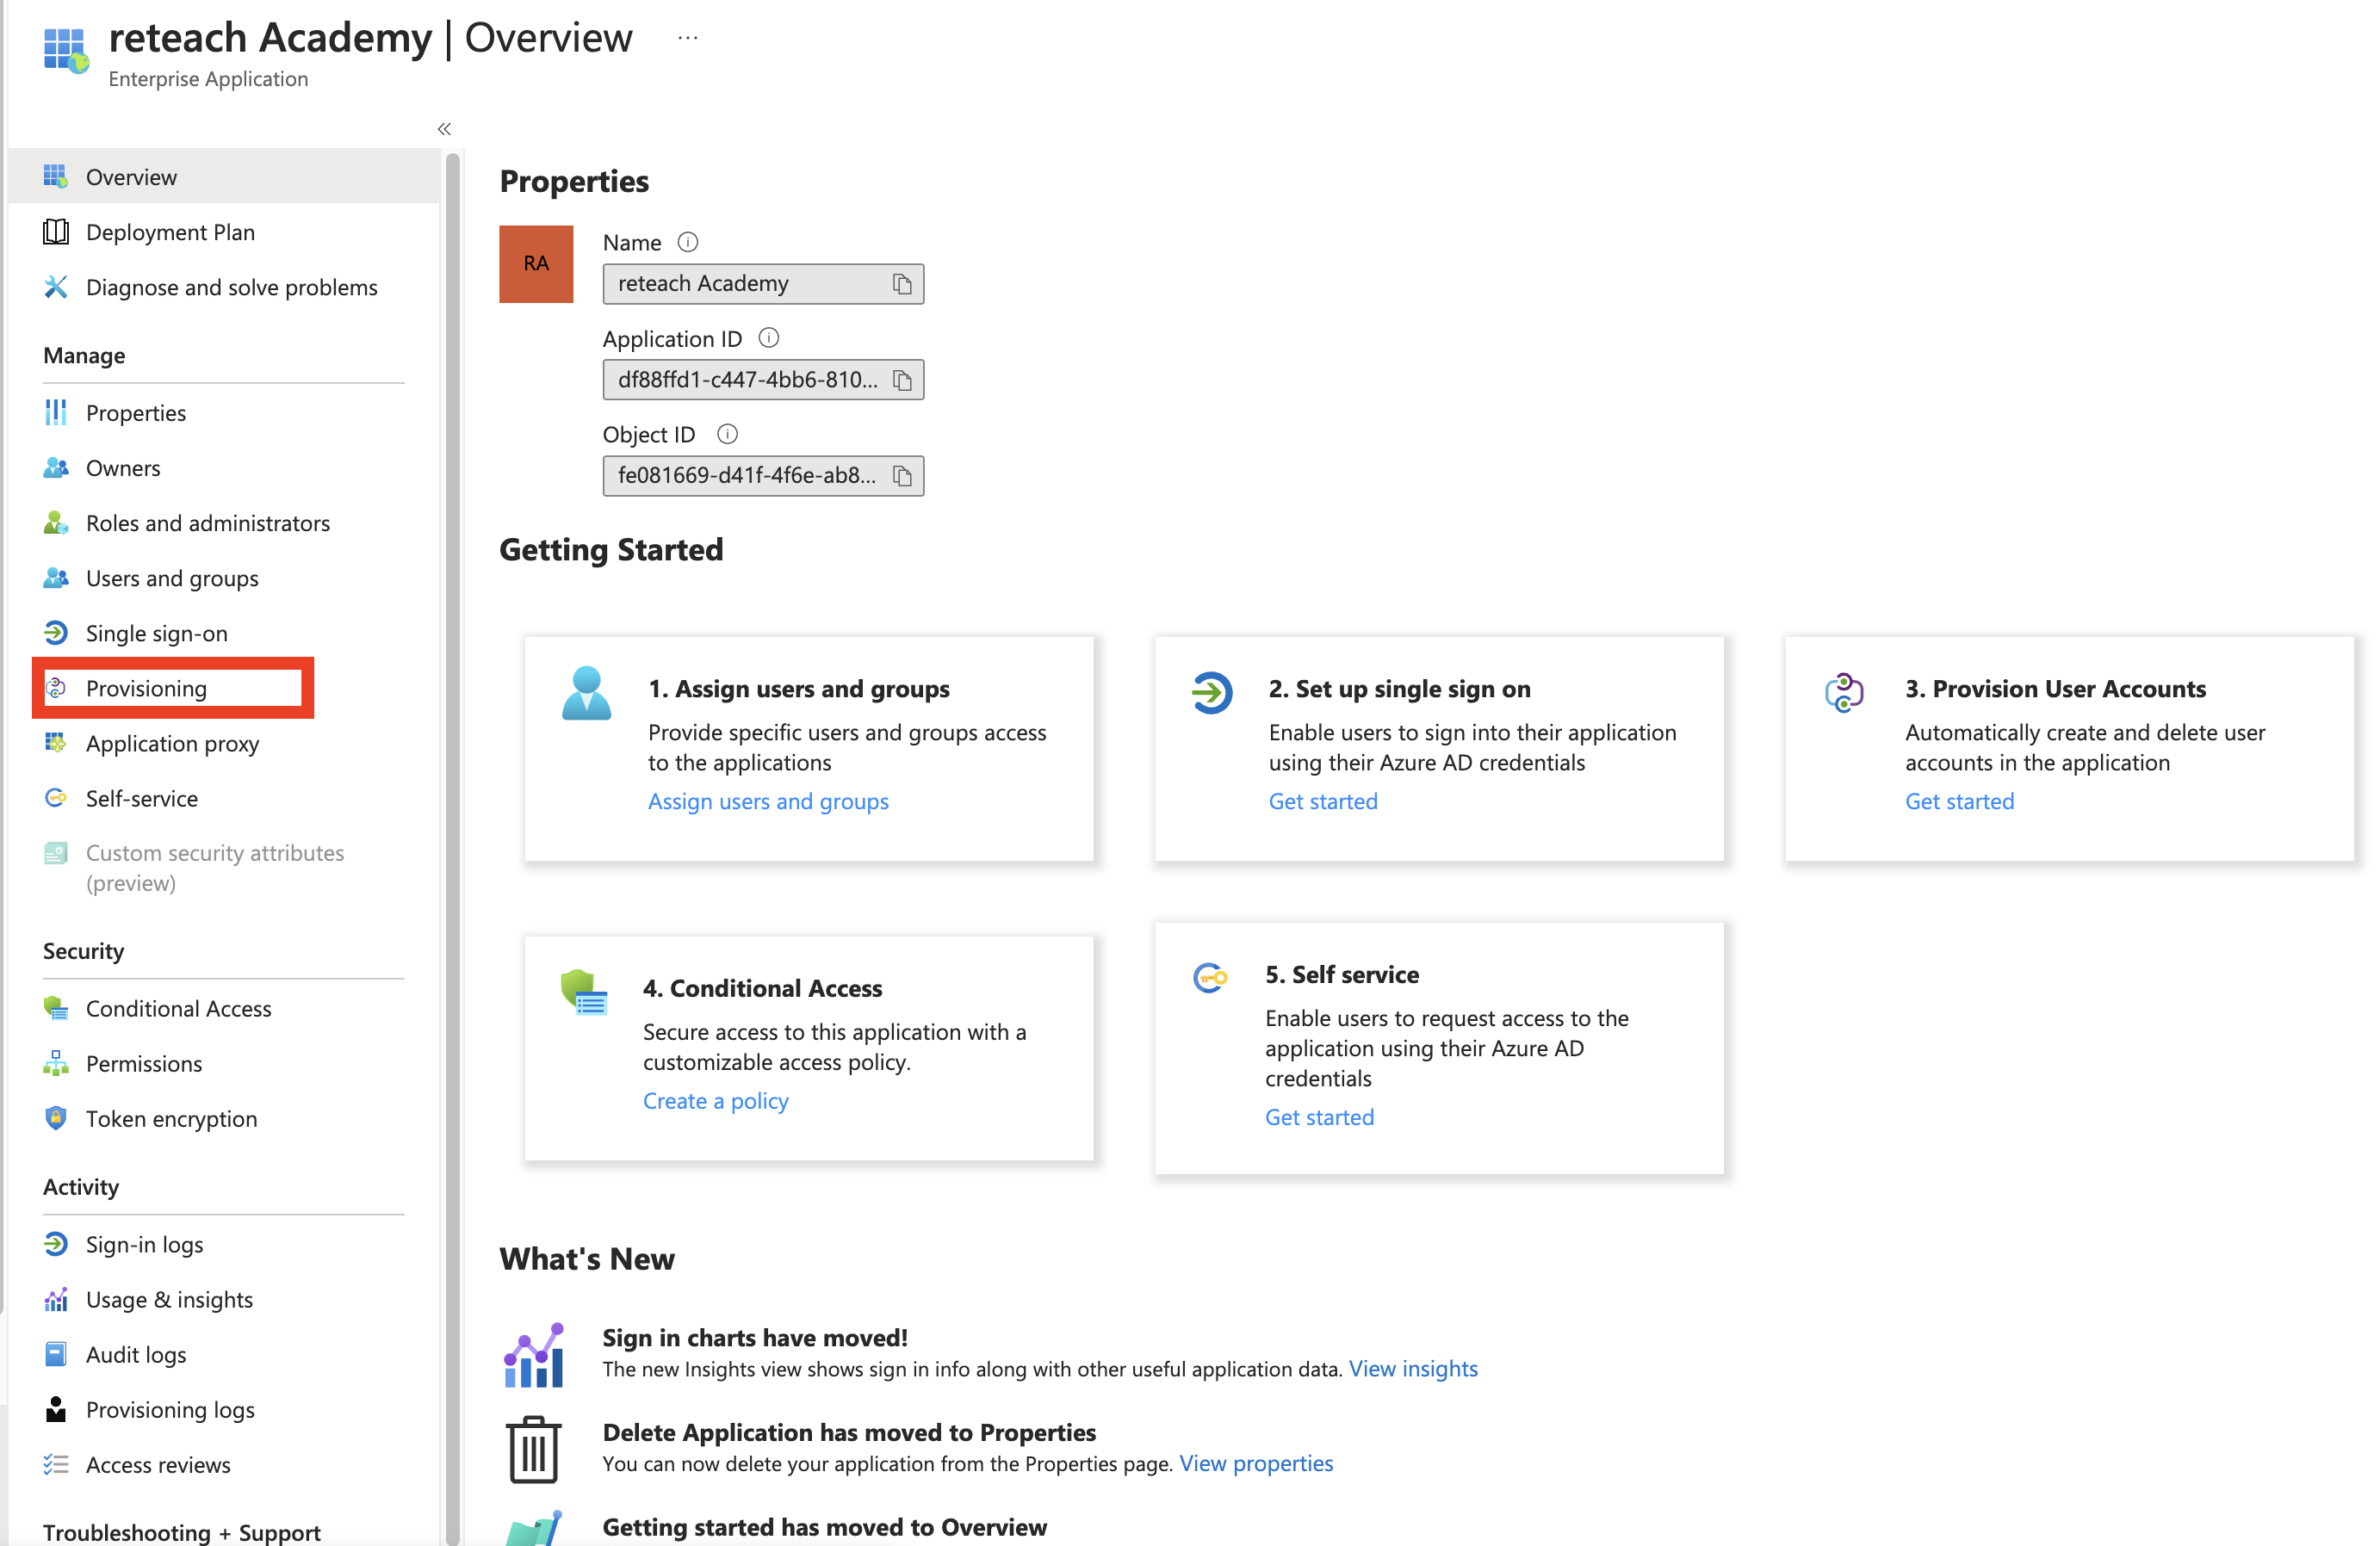
Click on Provisioning to configure the synchronisation:
2) Enter access data
Activate the SCIM integration HERE and copy the values of URL and Token into the asisgned fields in the application by clicking on them.
Copying values from reteach:
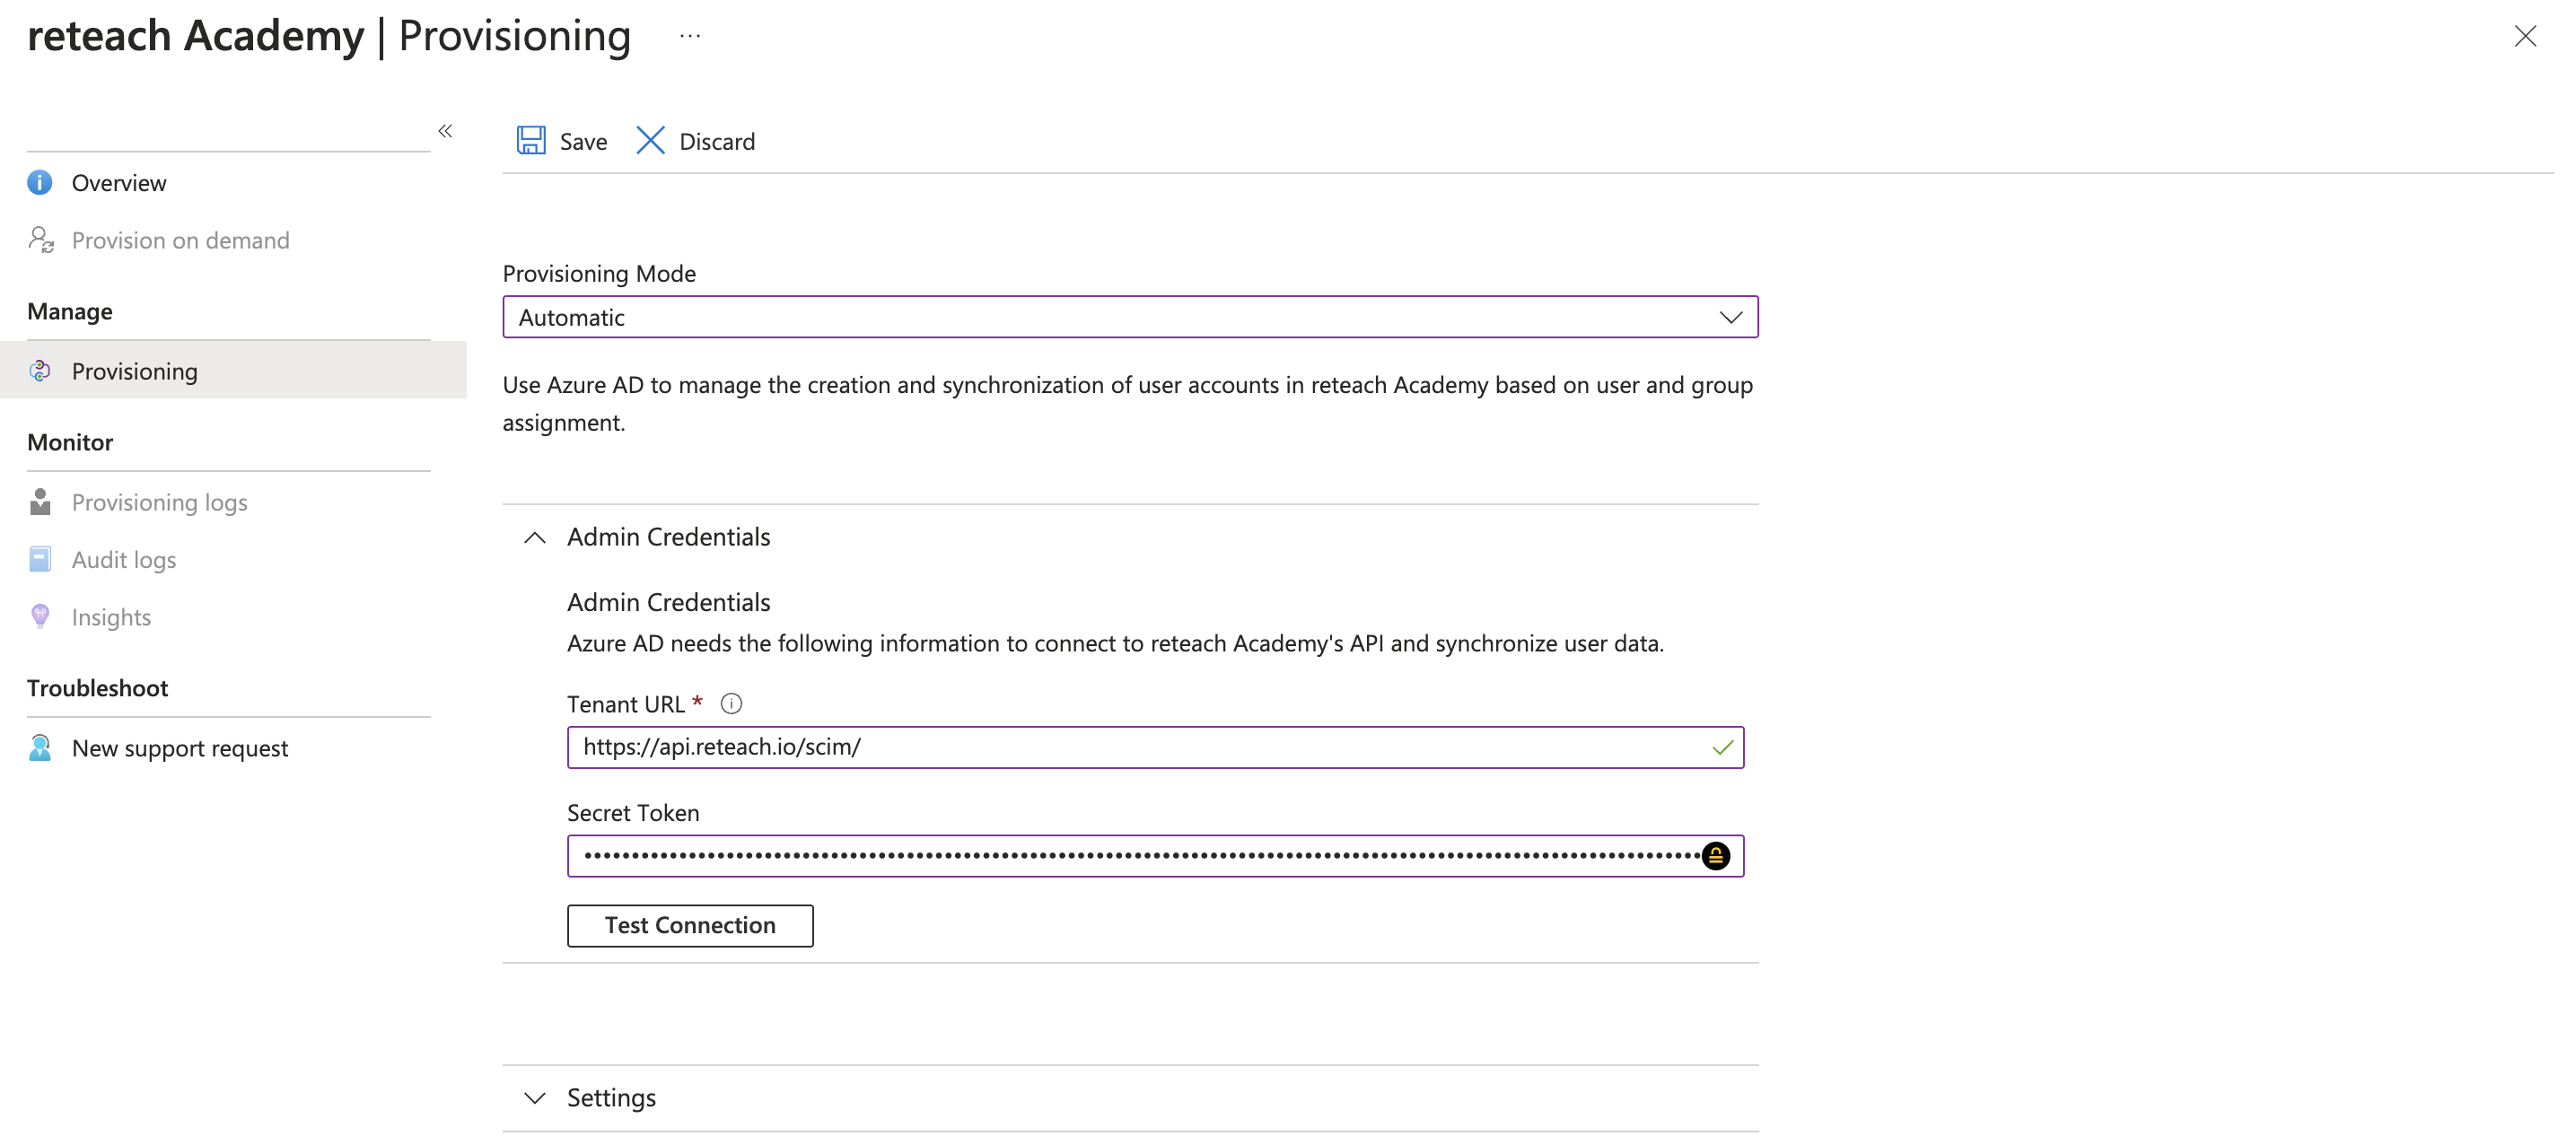
Click on Provisioning in the previously created application:
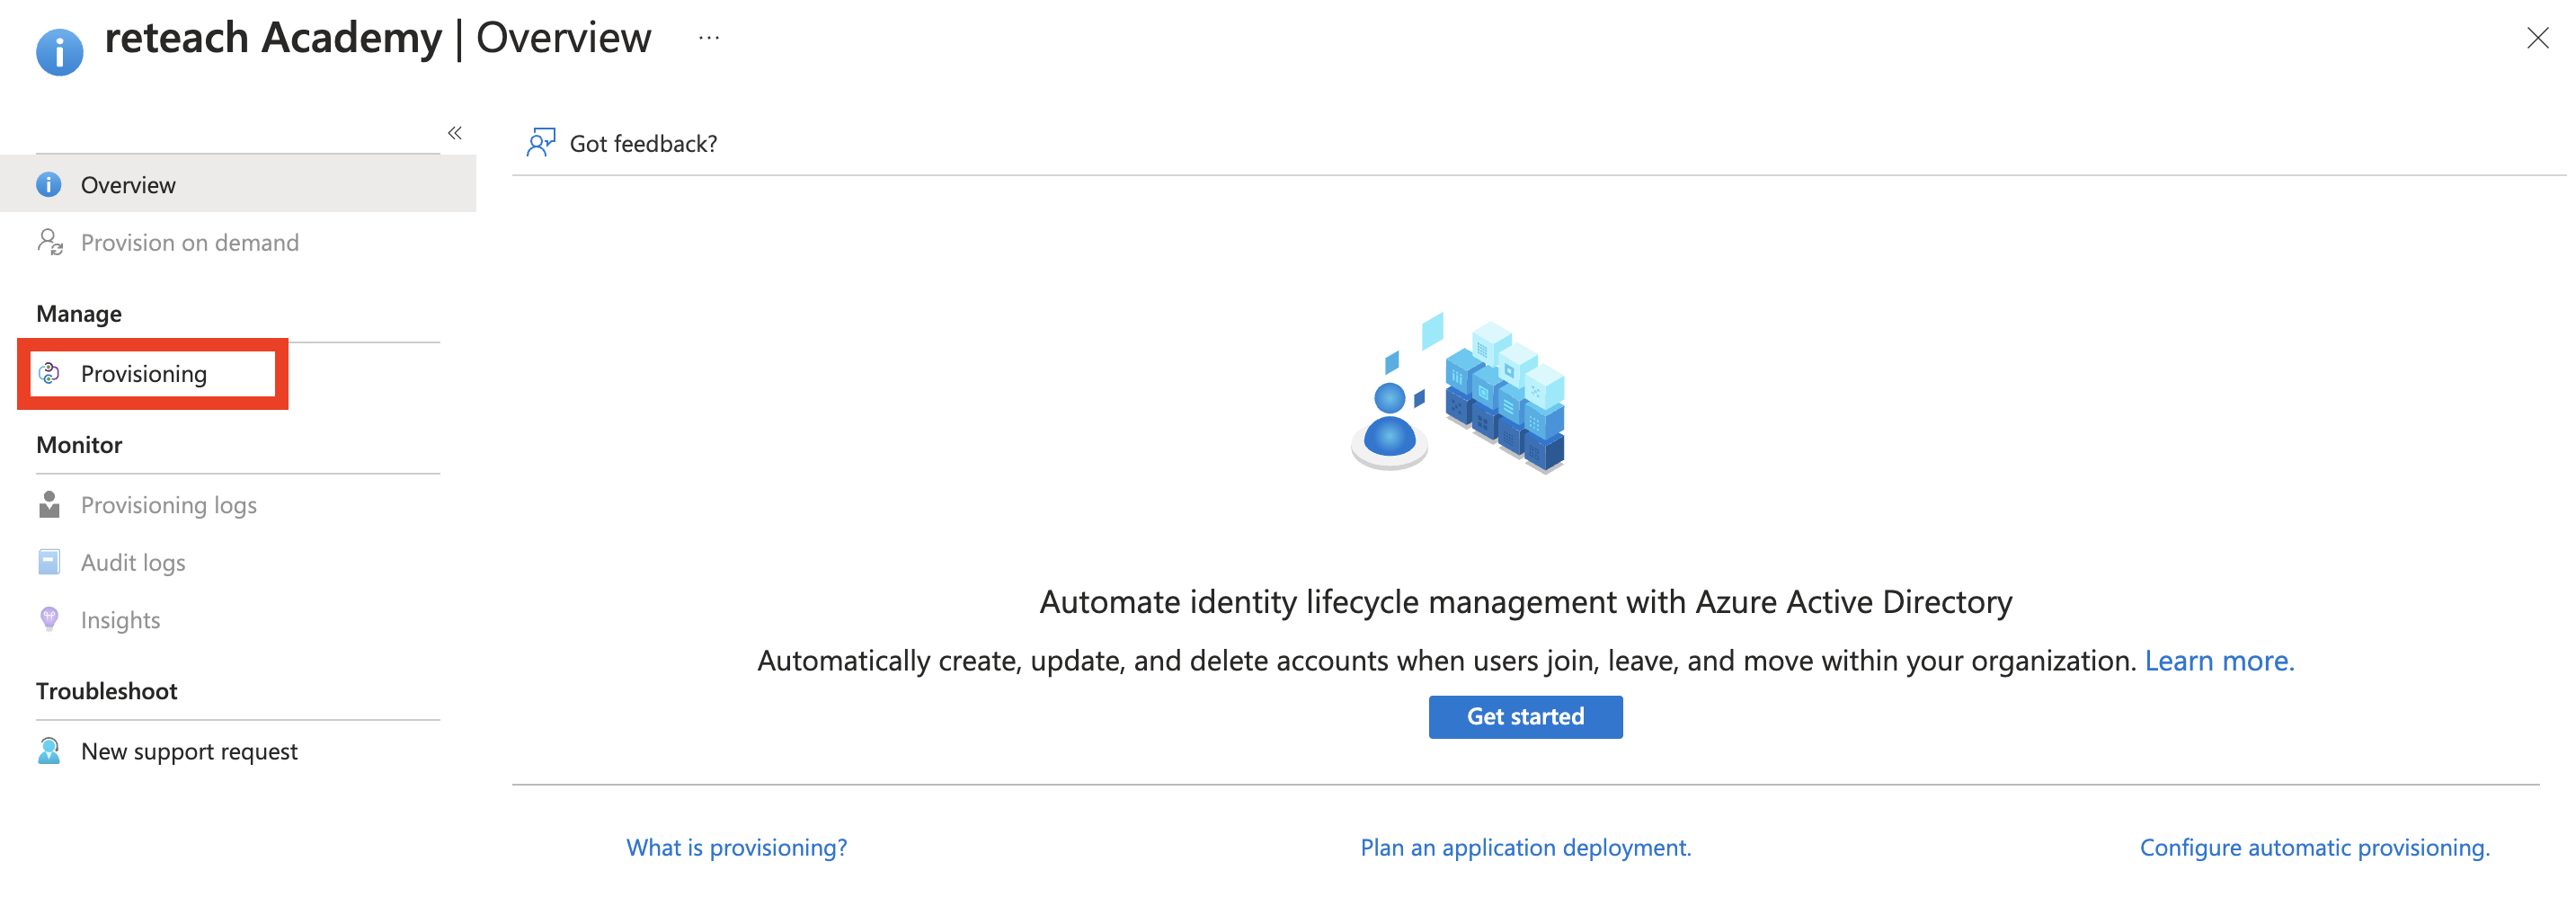
Enter the values URL and Token from reteach here:
3) Configure attribute assignment
Next, the attributes need to be adjusted in the application. For this, enter the start page of the application and click on "Edit attribute mapping".

The following attributes are transferred via our interface. When assigning the attributes, ensure the desired attributes have been configured.
| customappsso-Attribut | Beschreibung | |
|
userName
|
User name | |
|
emails[type eq "work"].value
|
||
|
active
|
Is the user active or blocked? | |
| preferredLanguage | Language | |
|
name.givenName
|
First name | |
|
name.familyName
|
Surname | |
|
name.formatted
|
Profile name | |
|
externalId
|
ID | |
| urn:ietf:params:scim:schemas:extension:enterprise:2.0:User:organization | Company | |
| urn:ietf:params:scim:schemas:extension:enterprise:2.0:User:department | Department | |
| urn:ietf:params:scim:schemas:extension:enterprise:2.0:User:manager | Manager | |
| urn:ietf:params:scim:schemas:extension:reteach:2.0:User:notificationMail | Notification email (managers) | |
| urn:ietf:params:scim:schemas:extension:reteach:2.0:User:gender | Gender Possible values: MALE, FEMALE, DIVERSE |
|
| urn:ietf:params:scim:schemas:extension:reteach:2.0:User:birthDate | Date of birth | |
| urn:ietf:params:scim:schemas:extension:reteach:2.0:User:authenticationMethod | Authentificaion method Possible values: SSO, DEFAULT Standard: SSO |
To transfer the attributes notification email, gender, date of birth or authentification method, the attributes have to be added to the attribute list. This can be configured via the following link:

The attributes can be added here:

To match already existing participants in reteach with participants in Microsoft Active Directory / Entra, the email address should be used, too. To achieve this, click on the "mail" attribute in the attribute list and adjust the values like we have here:

The end result should look like this:

4) Adding groups and participants
Under "Users and groups" you can delegate groups or participants to the application. Only if participants are entered here, they will be synchronised.

5) Testing of the Provision (Synchronisation)
It is best to test the synchronisation via the tab "Provision on demand" to eliminate potential errors.
Select single participants or groups and start the synchronisation. Check, whether participants have been added or updated correctly in reteach -> Participants.

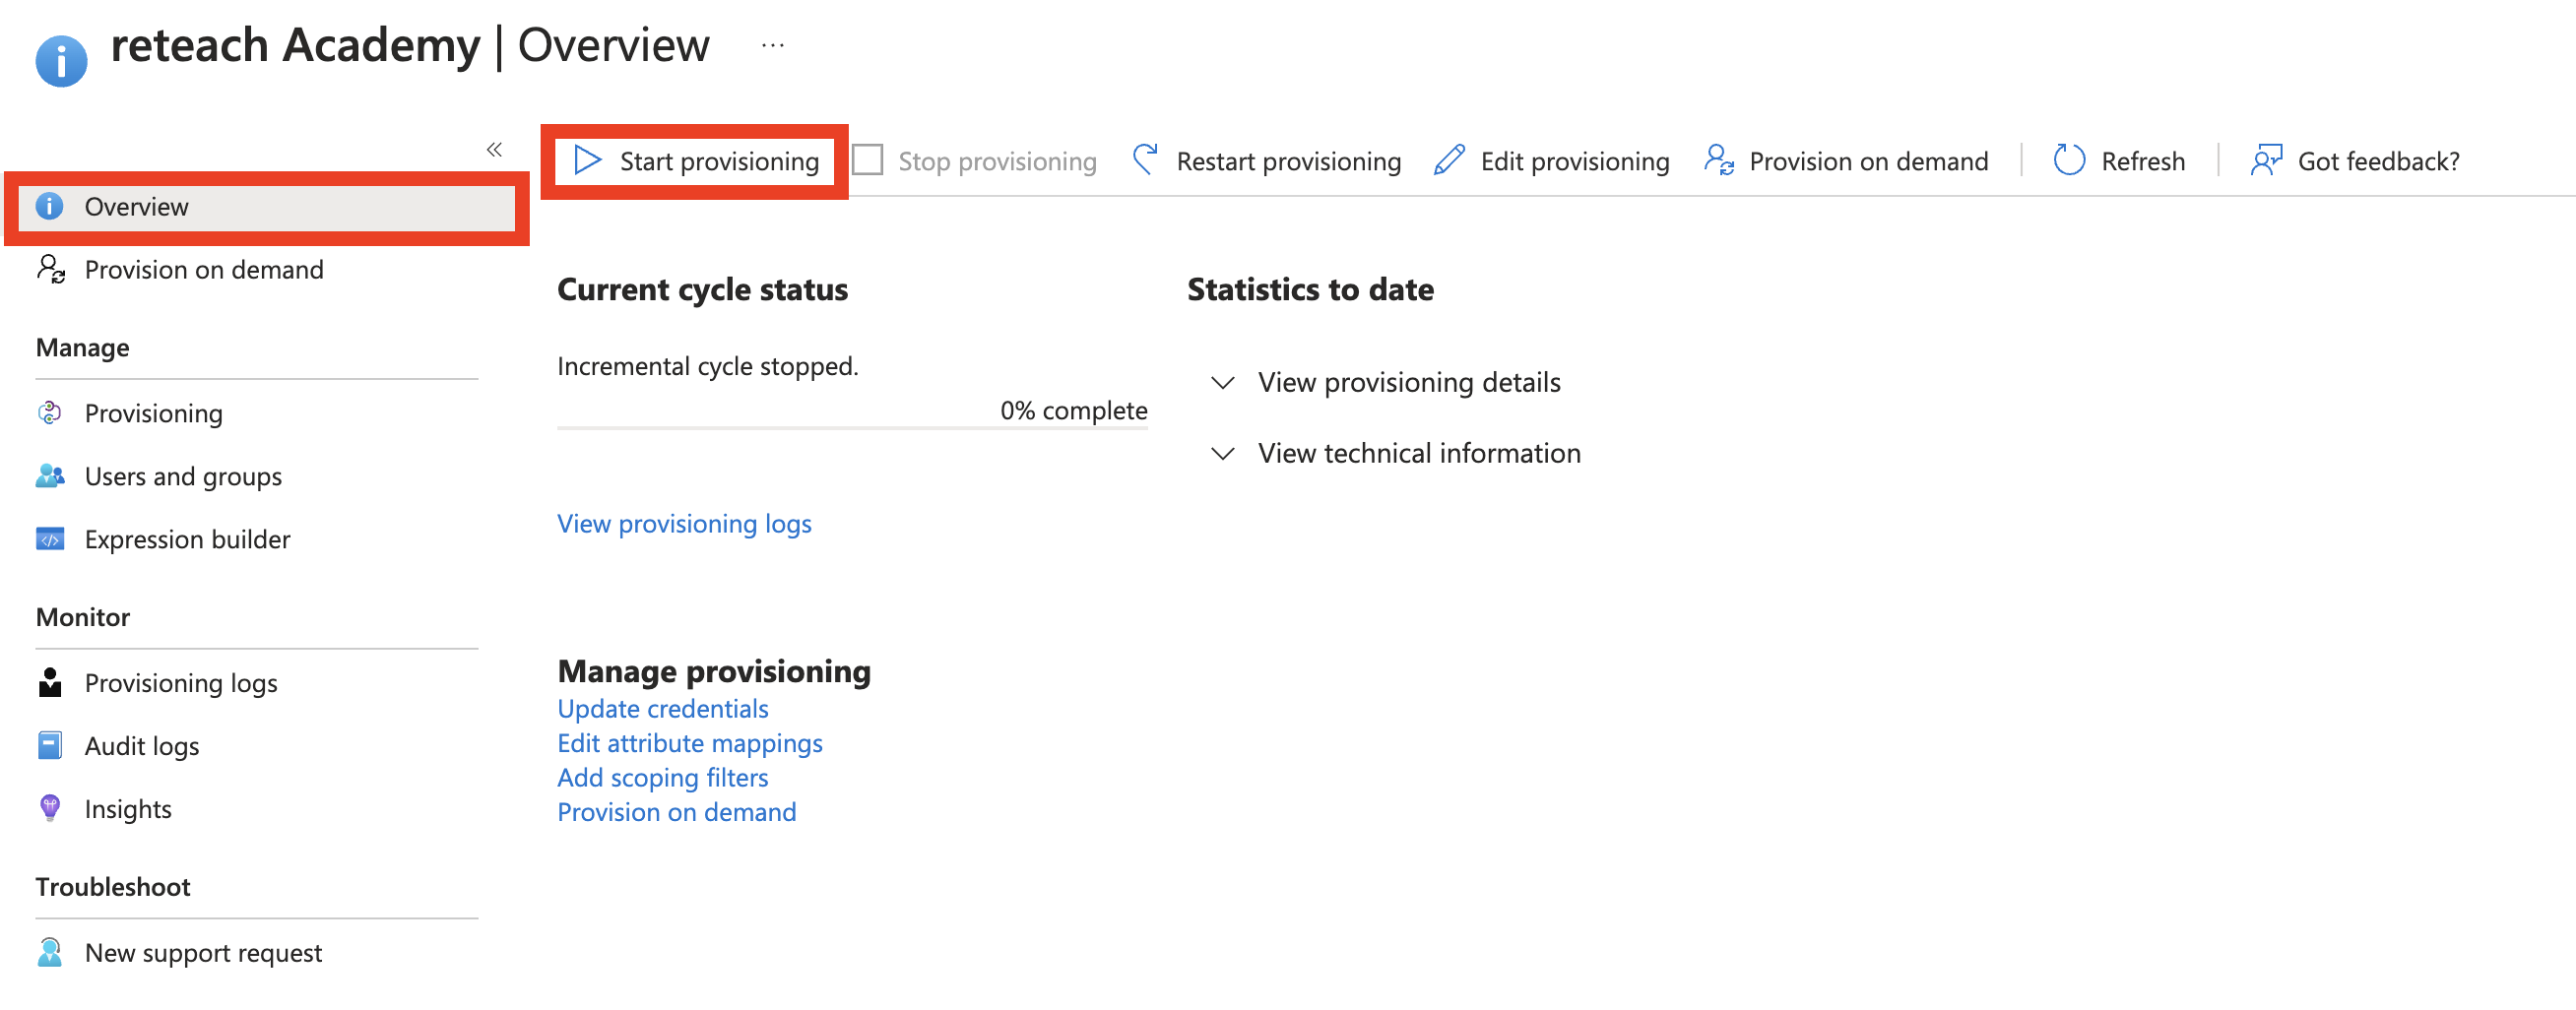
6) Activating the Provision (Synchronisation)
By clicking on "Start provisioning" on the start page of the application you can start the synchronisation. The update interval is set to 40 minutes by default. The status and logs can be followed on this page.
